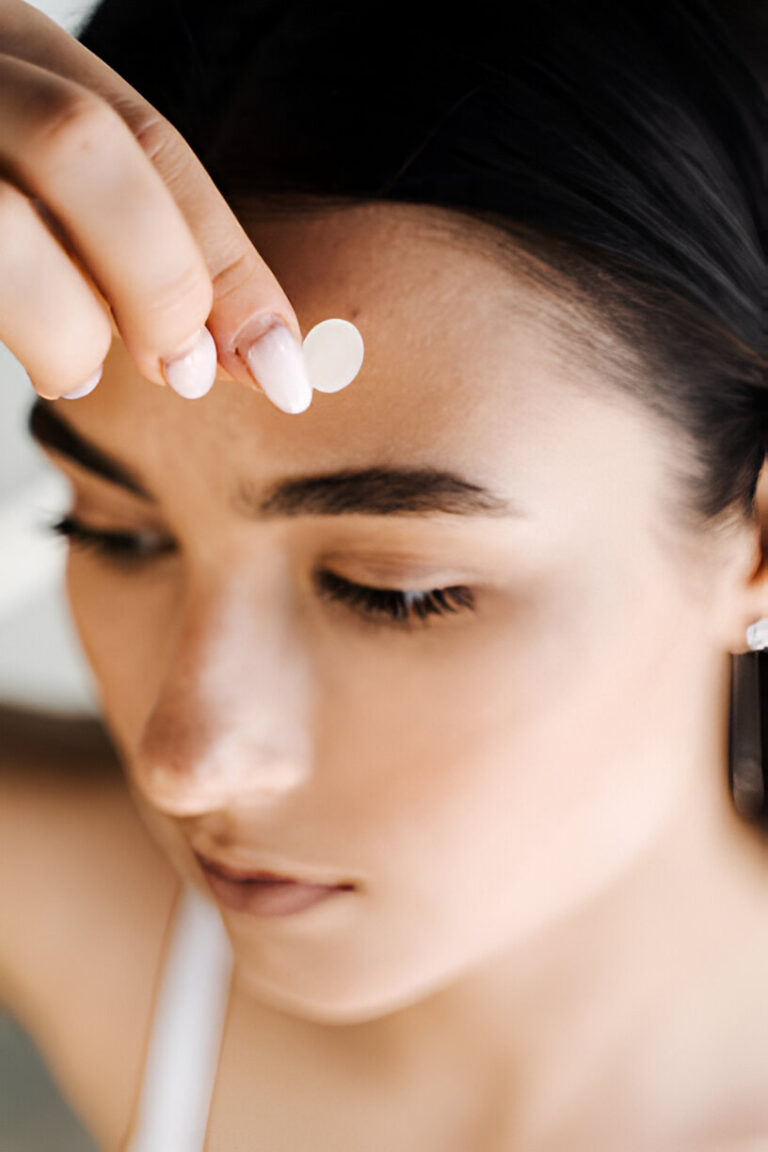
When it comes to skincare essentials, PanOxyl acne patches are amongst the most useful for anyone with ongoing breakouts. These small, transparent hydrocolloid patches work by absorbing excess oil at the same time as protecting blemishes to allow them to heal faster. Throw in the fact that they also stop you from picking (one of the worst things you can do), and it’s easy to see why they’re so popular.
As with any product, you’re not going to get the best results from acne patches like these if you don’t use them right. That’s what we address here in this article with a step-by-step guide.
Using PanOxyl Acne Patches is a Real Piece of Cake
At this point, we think it’s important to say that what we’re about to cover is really simple, meaning that using PanOxyl acne patches is not rocket science. However, you do still need to know how it’s done, so check out these steps.
Step 1: Identify a Zit That PanOxyl Acne Patches Work On
The first thing to do is to find a zit that these patches are actually effective for – as they don’t work on all of them. These patches are great for whiteheads and popped pimples, as well as early-stage pimples. What they don’t work on are cystic, nodular, deep, or blind pimples as they’re simply too deep under the skin to be affected.
Step 2: Wash Your Face & Let it Dry
Next is a crucial step – cleansing. That’s because if there’s any oil, dirt or left-over makeup on your skin, your acne patch will not be able to adhere. So, wash your face with a gentle, acne-friendly cleanser, rinse thoroughly and pat the skin dry. Whatever you do, don’t rub the area with a towel, as you’ll simply make more problems for yourself.
Step 3: Choose an Appropriate Patch Size
In products like these, you’ll usually get two sizes (9mm and 12mm), and it’s important to find one that completely covers the designated pimple. Notice we said ‘pimple’ there and not ‘pimples’. We do so because the patches are designed for individual zits. Once you’re sure that you’ve got the right size, gently apply (with clean hands) and then press firmly (but not too firmly) into place. Also, you must ensure that there are no air bubbles or loose edges.
Step 4: Leave in Place for at Least 6 Hours
Now you’ll need to let nature take its course, which means leaving the acne patch in place for a minimum of 6 hours. This is to give the product time to draw out impurities. While wearing it during the day or overnight, you should avoid touching the area. How can you tell when it’s time to peel it off? It should turn white or puffy, which means it’s full of fluid.
Step 5: Remove the Patch…Gently
When it’s time to remove the patch, it’s important that you do so gently. Never, ever just rip it off as if it was a band-aid, as it can irritate the healing skin and undo the work the patch has done. Should you find it stuck tightly in place, just apply a warm, damp cloth for a few seconds, which should loosen the adhesive. Finally, cleanse the area, and you’re done!
PanOxyl Acne Patches Are Super Effective – When Used Right!
Acne patches like these can be a game-changer for anyone wanting to treat their pimples quickly, safely, and effectively. As we’ve seen, the process is pretty straightforward, but there are certain elements that you can deviate from, such as ensuring the skin is clean and dry before attaching the patch. Just follow the steps as shown here, and you’ll be fine.
So, if you struggle with breakouts, why not consider adding acne patches to your skincare routine? When used as part of a targeted routine, they represent something that can help you speed up the healing process.

david Miller is an experienced English language expert with a deep passion for helping others communicate effectively and confidently. With a background in linguistics and literature, He provides clear, accessible insights on grammar, writing, and communication strategies. Through well-researched articles and practical advice, David Miller aims to make language learning both inspiring and achievable for readers of all levels.


